Foam Hopper

This patterns requires a little preparation to the materials but produces a great looking hopper pattern. This pattern is made with a foam body, thin skin wing, deer hair head, and pheasant tail fiber legs. Rubber legs could be substituted to add a more action on the water.
- Submitted By: Fly Tying Guide
Materials

1
Prepare the foam by cutting strips equal to the hook gap in width. Use CA glue to glue the tan and green foam together, cut off a piece the length of the hook including the bend. Prepare the rear legs by removing five or six pheasant tail feather fibers and knotting them. Prepare the wing by cutting a strip of thin skin slightly wider than the foam and the same length of the foam. Shape the end as desired, a simple rounded corners is used here. Taper the sides of the wing so that it will not interfere with the legs once tied in.

2
Using a sharp pair of scissors, shape the end of the foam so that it has a profile similar to what is shown in the photo. An emery board can be used to smooth out the profile.

3
The profile viewed from the bottom.

4
Place the hook in the vise and secure the thread behind the eye.

5
Prepare a pinch of deer hair by cleaning it and stacking the tips. Measure the deer hair so that it is the same length as the hook shank.

6
Catch in the deer hair with progressively tighter wraps until it is secured firmly, it should wrap around the hook shank some while being tied down and might flare some. Alternatively you can trim the hair to length and catch in with your off hand, I prefer to secure the hair with my primary hand and trim later.

7
Ensure the deer hair is tied in directly behind the eye by pulling the fibers towards it, then snip off the tag ends with scissors and/or a razor blade. Cover the tag ends with thread and advance the thread to the start of the bend.

8
Make a slit in the bottom side of the foam with a razor blade about 1.5mm deep so that it will slide over the hook shank, test fit and trim the foam to the desired length. Extending about one hook gap in length beyond the bend is shown here. Once the fit is good, apply CA glue to the thread on the shank and position the foam on top of the hook shank. Allow the glue to set.

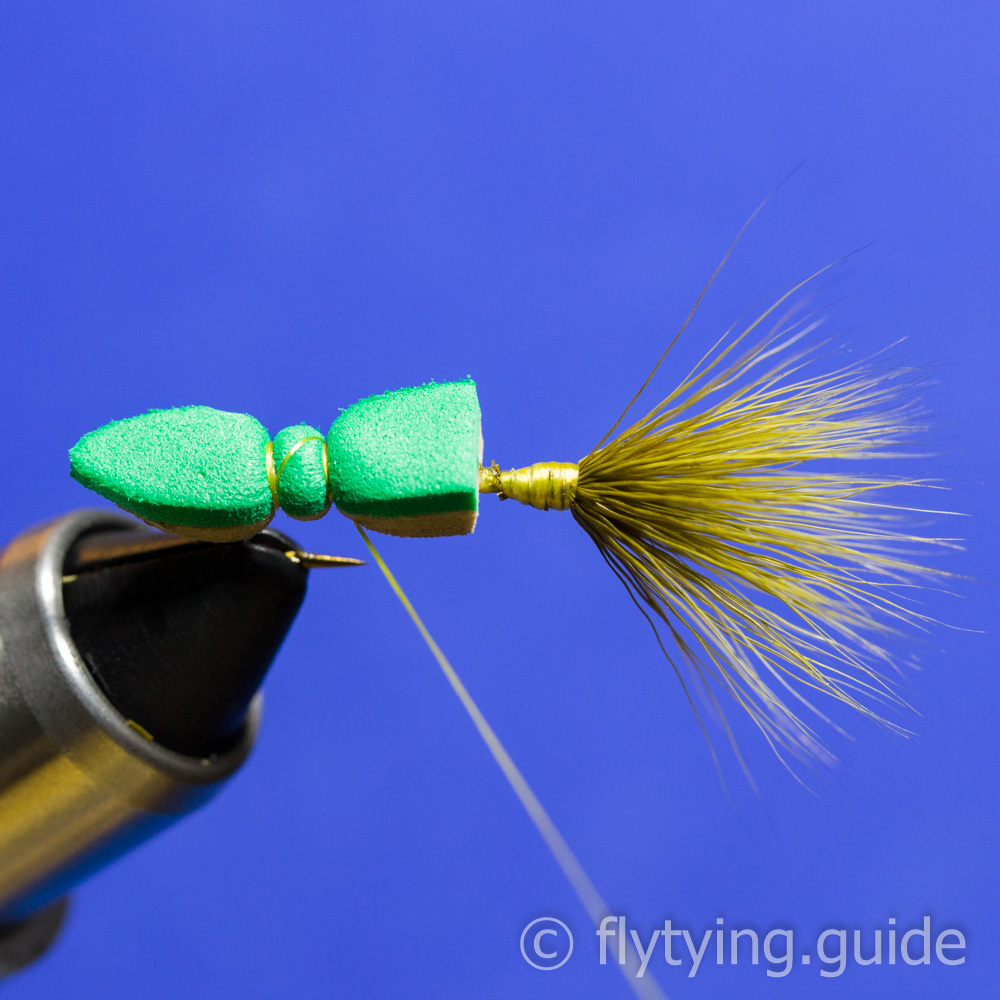
9
Begin making body segments in the foam at the bend of the hook by taking wraps to compress the foam under the thread.
10
Advance the thread approximately a third of the way along the body by taking an angled wrap on top of the foam. Create the next body segment by taking thread wraps.
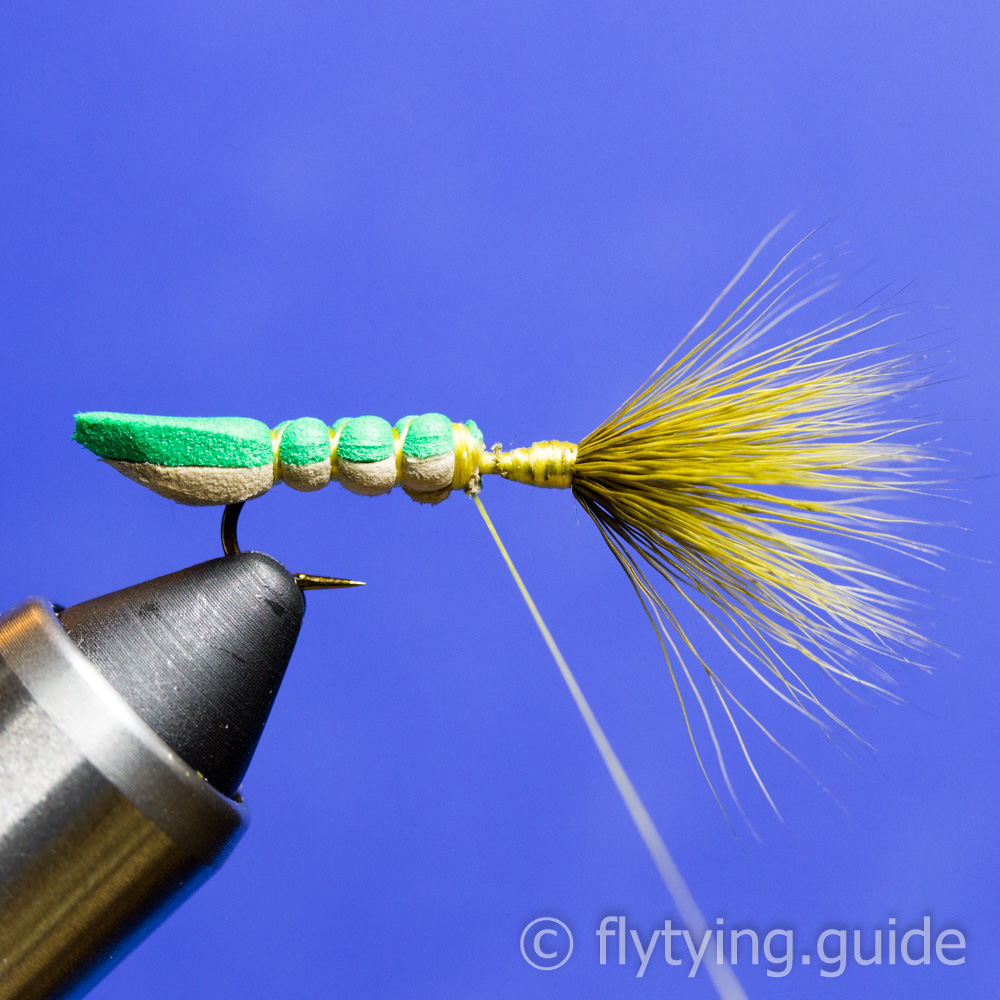
11
Repeat the previous step two more times until you have a total of three body segments plus the tail. Be careful not to fill in the gap between the end of the foam and the start of the deer hair, this is useful later to help flare the deer hair to form the head and front legs.

12
Tie in the wing on top of the foam, trimming the tag end so that it will not interfere with the head once secured.

13
Tie in one set of legs on the near side, position the knot so that it is in line with the hook bend and adjust the thread tension so that the legs flare to your liking.

14
Repeat the process to tie in the second set of legs on the far side.

15
Trim off the tag ends of the legs and cover with thread, position the thread to just beyond the end of the foam.

16
Using your index finger, stroke the deer hair back and capture the tips with your other hand so that it forms a neat head. This takes a little practice and patience the first couple times until you start to get a feel for it. Once you have the hair all folded back, you can use a small tube to help hold it in place while you take loose wraps to capture it.

17
Secure the deer hair with tight wraps, flaring out the ends so they form a collar. The collar will serve as the front legs for the pattern and also helps the fly present in a more natural position with the head angled up.

18
To finish the fly you can add a couple nylon bristles from a paint brush as antenna, a tuff of egg yarn could also be added to help see the fly on the water if desired. Eyes can also be painted on the sides of the head if desired.
19
Whip finish, snip the thread and apply head cement to the tag end of the thread.